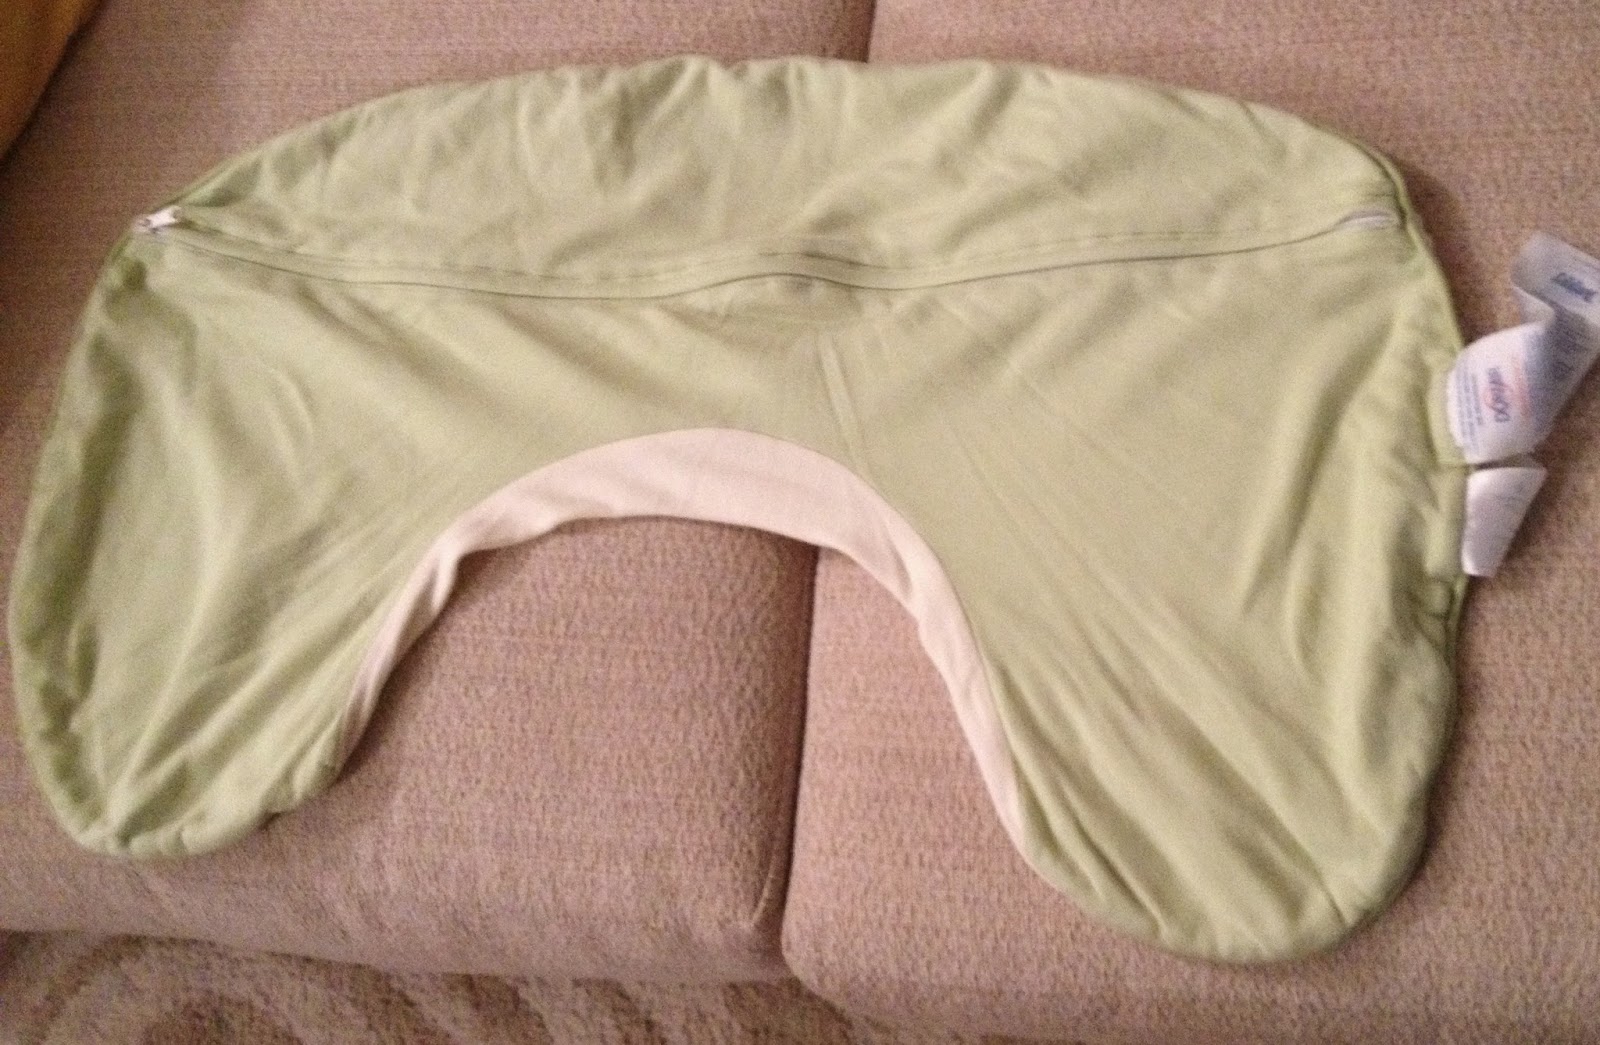
She initially gave me the old Boppy pillow cover, but when I realized it was stretchy I had her provide me with the actual pillow to make sure the case I made would fit.
Next I began researching online to see if there were any tutorials or patterns to use and I came across this site that had a printable pattern to piece together: http://www.vanillajoy.com/free-boppy-slipcover-pattern-and-tutorial.html
Initially I wanted to have both sides patchwork, but after mis-calculating the amount of fabric to purchase and realizing how long it would take to patchwork both sides of 3 pillows, I decided to only do 1 side squares and used some other fabric I had at my house for the other side.
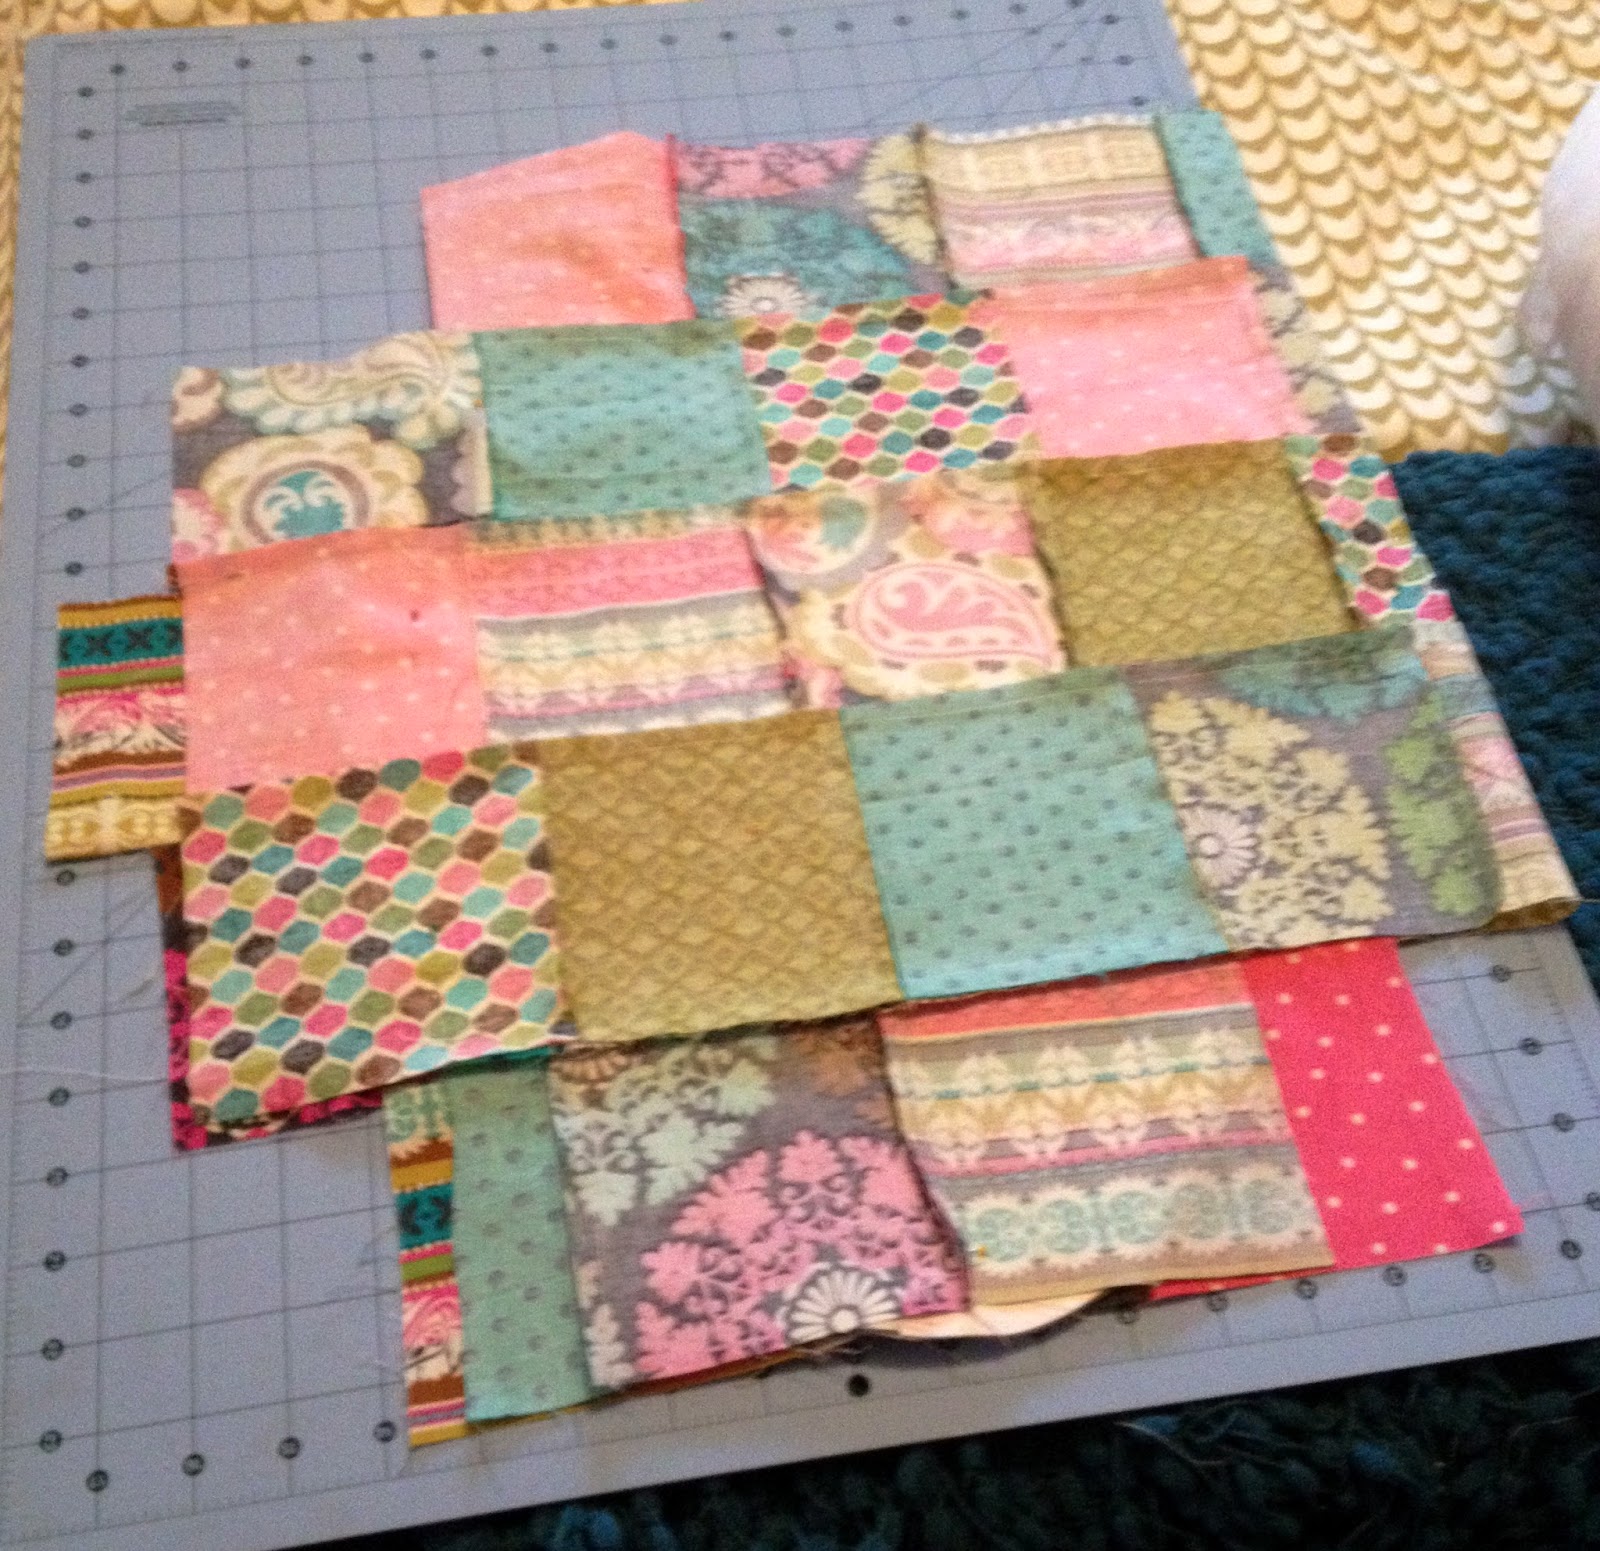
Here are the fabrics I picked out:

Next I cut all the squares out and pieced them together. This is where I realized I didn't buy enough fabric, so I was trying to piece the squares together only where the fabric would need to be. I made the mistake and initially didn't piece together a large rectangular area and cut down. It is much easier to piece the squares in rows then piece the rows together rather than adding random squares here and there.


After I cut out the pattern from the tutorial, I pinned it to the back fabric and cut the fabric around the pattern.

Since the patterns were only for 1/2 of the cover, I flipped over the cut part onto the fabric that wasn't cut and pinned and cut again to get 1 long back piece.


I used the front pattern and did the same to get the patchwork piece cut down to the correct size.


I had never done a zipper before, so I was a bit nervous to try it out and even without a zipper foot I was able to put it in following the instructions in the tutorial and just kind of messing around with it. Here's a picture of me pinning the top and bottom of the back together to the zipper.

And the finished cover! It turned out about as good as I could have wanted it.


No comments:
Post a Comment