I did a little research into some DIY blogs, and really like this one at Sew Mama Sew and learned basically all I needed was
-Fabric
-cotton/poly batting
-Insul-Bright heat resistant batting
So not a whole lot to it! It would have saved me a lot of time if I didn't want to quilt the potholders, but I found these really pretty coordinating fabrics that I thought were perfect for spring or to be used in anyone's kitchen and bought 1/8 yard of each of them.


I cut 4 of the 1/8 yard strips into into 2.5" strips and started laying the squares out. I set aside 2 of the 1/8 yard cuts for the binding. Doing this I realized that I was definitely not going to have enough fabric to make 4 sides of a 9"x9" quilted potholder. Luckily I had some leftover dark blue flowered fabric and some green and white printed fabric to help me with the 2nd set of potholders!
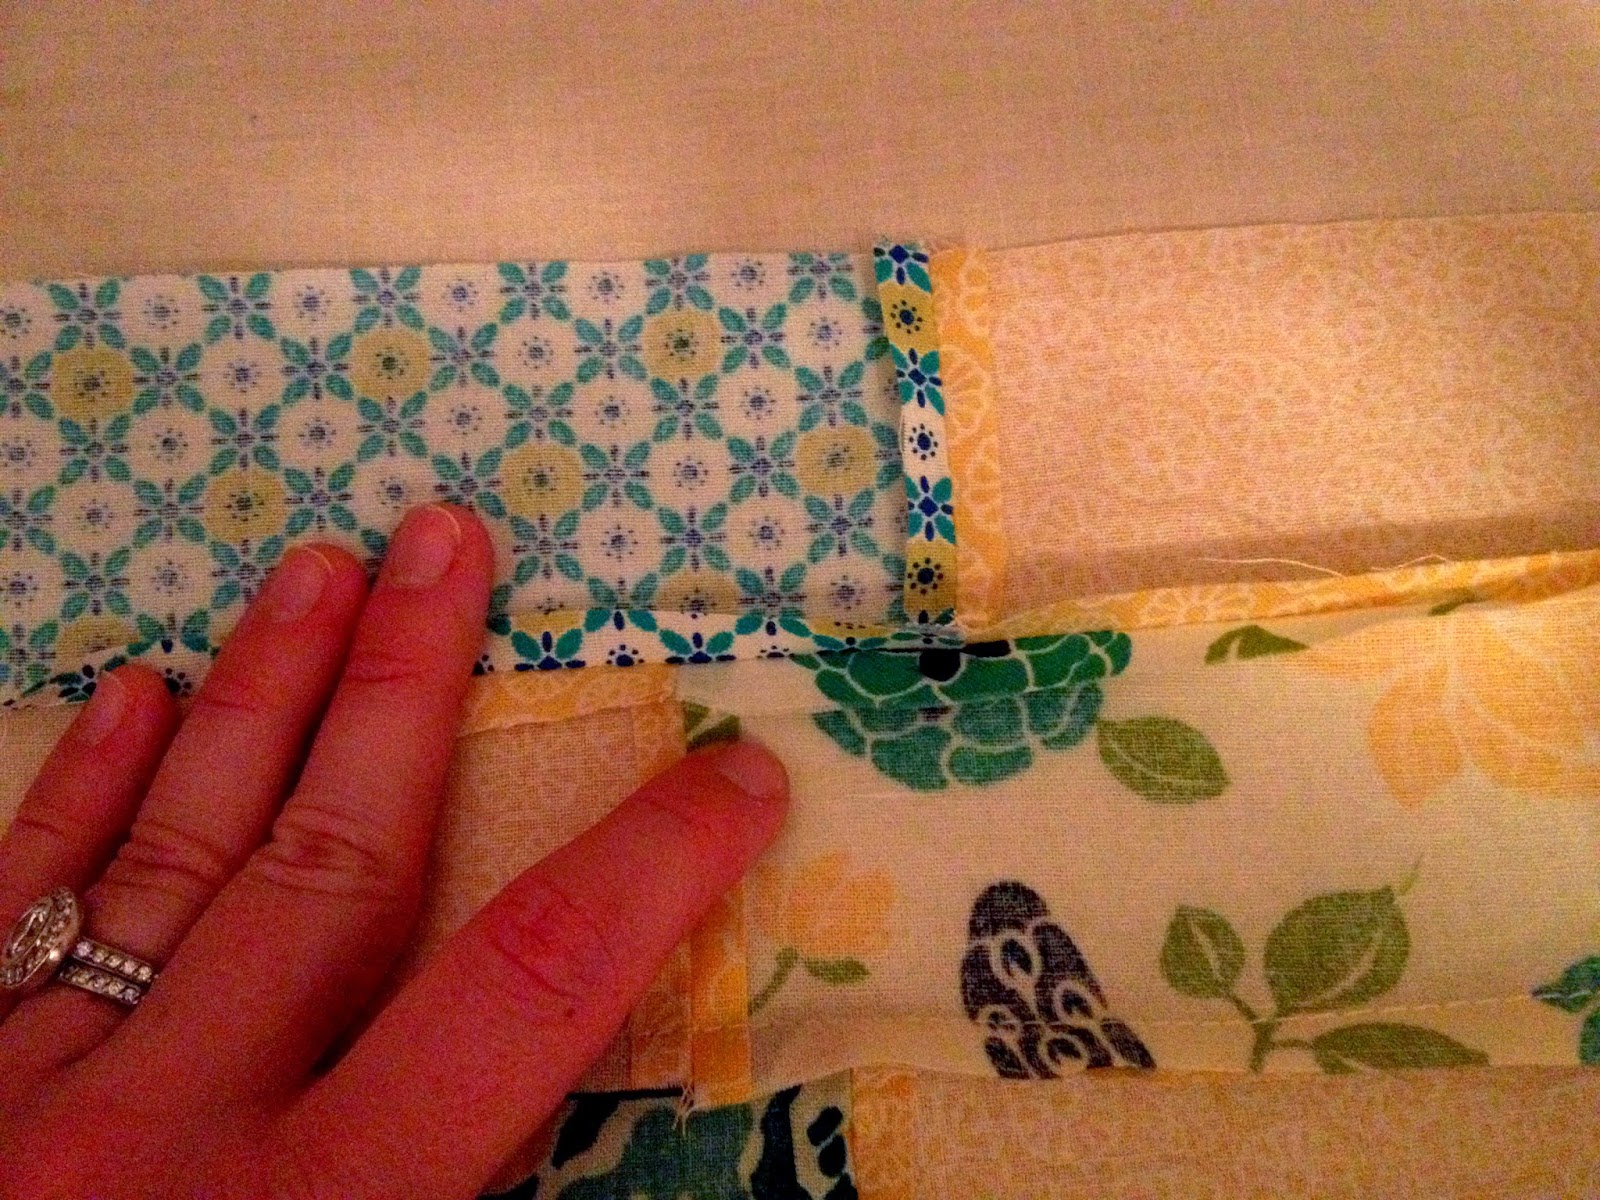
I cut the 2.5" strips into varying sizes so the seams of each line would NOT match up. I wanted to eventually have 18" strips so once they were all put together I could just cut in half and have both sides of the potholder. The blog I looked at had 1 solid fabric for the back, which would have been easier and saved me some time since I made 4 of these bad boys!

Next I sewed each piece to the piece next to it to create the long strips, then I sewed each long strip to the one above and below it using a 1/4" seam. I turned the pieced together fabric over and ironed the seams open.

Then I turned over and ironed the piece from the front.

Next I cut the fabric in half and sewed around the seams to bind the top layer to the cotton batting, and separately sewed the bottom layer to the Insul-bright layer. Since I patched rectangles of different sizes for both sides and the seams were not even, I had to quilt each side separately.
I then used the binding technique from this tutorial to bind the two sides together.
I cut my binding strips into 2.5" strips. The potholders were small enough that I didn't have to sew the strips together like I do when I am binding a baby quilt.

Following the tutorial, I folded the strip in half so the wrong-sides touch each other and ironed flat. Then I lined up the unfolded side along the edge of the potholder (this one shown is the first one I made where I didn't quilt the layers together) and pinned around each side. I did use the pinning technique from the tutorial for the corners so when I flipped the binding from the back to the front the corners would lay nice.

I repeated for the dark blue fabric I wanted to use for the other binding and started sewing to the potholder. Here's what the front sewing of binding looked like:

Next I cut a little strip for the potholder loop so the moms could hang the potholders in their kitchen if they wanted to. I took a little scrap of the binding fabric and folded each side in half.

Next I folded that in half and sewed the unfolded side together.

I attempted to sew the loops to the potholder but there was too much fabric in the corners for the stitches to look good. SO I did what I usually do when I am frustrated with sewing...got my hot glue gun out and glued the loops to the potholders! :)
Here are the finished products. I was really happy with how they turned out and I hope my mom and Jake's mom liked them for Mother's Day!


No comments:
Post a Comment