Monday, May 26, 2014

Week 22: Boppy Maternity Pillow Cover

This is post 3 of 3 for making the Boppy pillow covers.  This was the last pillow cover I made, and I decided after patchworking both sides of the baby pillow, I would do a solid color fabric on the back side of this pillow.

Christin gave me an old cover to use as a template, which really helped me with the sizing and zipper placement.


Here are the fun flower and bird fabrics I found, along with a couple other coordinating fabrics.


I again used my quilting skills to patchwork the front of the pillow cover, then laid the old cover over the patchworked area, traced and cut to be similar to the old cover.  I did cut about 2 extra inches over the area with the zipper to leave room to sew the zipper in.


I pinned the the old cover and the front to the back of the fabric (making sure the fabric was facing the correct way) and cut the back out.  Then I sewed in the zipper to the front and back before I sewed all the way around (with the fabric inside out).


Finally when I sewed the pieces together I was done and could easily put the pillow in the case and zipper shut.

A little blurry, but I chose a gray with sparkly gray dots for the back of the cover.


And here are some pictures of the front: 


Not too bad for not having a "real" pattern and dabbling with putting in a zipper!


Week 21: Boppy Baby Pillow Cover

Following my Week 20 post, this week I made a pillow cover for my sister-in-law's Boppy pillow that was large enough to set both twins in at one time!

There is no cover to use as a pattern so all I had was this pillow to work with for this project:


I found some beautiful red and turquoise rose pattern at the fabric store and knew right away I wanted to do something with those colors.  I was kind of surprised there were not that many fabrics with these colors, but I tried to find some that I thought would look good together.   I got 1/8 yard of all the fabrics except the rose patterns, which I got 1/4 yard of each.


Following the same patchwork method I do for the baby quilts, I created 2 rectangular large patch-worked pieces.  When I realized I was a little short on fabric, I went out and bought 1 more color of fabric, which was red with little white hearts on it.

I forgot to take a lot of pictures of these next steps, but i laid the 2 rectangles with the right-side facing the pillow and pinned around the pillow.  I traced around the pins with a pencil, and took the pins out of one side so I could take the pillow out of the un-sewn front and back pieces to sew them together.

Next I flipped the sewn cover to be right-side out and put the cover back in it.


I made this cover before the other 2 boppy covers, so instead of just figuring out the zipper I decided to use velcro to make this cover removable so Christin could wash it.   I sewed the velcro to both sides of the "flaps" and here's how the opening ended up looking:


And here's the finished cover with the pillow in it:


Week 20: Boppy Pillow Cover

So my sister-in-law had several types of Boppy pillows from when my nieces were babies, and now that one is 3 years old and the twins are 15 months old she doesn't need the pillows to nurse or lay the babies in.  She came to me a few weeks ago and wondered if I would be up for making some patchwork covers for the pillows so the girls would have some fun looking pillows to lay on in their playhouse.  I of course accepted the task and was excited to pick out fabric!

She initially gave me the old Boppy pillow cover, but when I realized it was stretchy I had her provide me with the actual pillow to make sure the case I made would fit.

Next I began researching online to see if there were any tutorials or patterns to use and I came across this site that had a printable pattern to piece together: http://www.vanillajoy.com/free-boppy-slipcover-pattern-and-tutorial.html

Initially I wanted to have both sides patchwork, but after mis-calculating the amount of fabric to purchase and realizing how long it would take to patchwork both sides of 3 pillows, I decided to only do 1 side squares and used some other fabric I had at my house for the other side.

Here are the fabrics I picked out:


Next I cut all the squares out and pieced them together.  This is where I realized I didn't buy enough fabric, so I was trying to piece the squares together only where the fabric would need to be.  I made the mistake and initially didn't piece together a large rectangular area and cut down. It is much easier to piece the squares in rows then piece the rows together rather than adding random squares here and there. 


After I cut out the pattern from the tutorial, I pinned it to the back fabric and cut the fabric around the pattern.


Since the patterns were only for 1/2 of the cover, I flipped over the cut part onto the fabric that wasn't cut and pinned and cut again to get 1 long back piece.


I used the front pattern and did the same to get the patchwork piece cut down to the correct size.


 I didn't take pictures of this, but I sewed a liner of plain-colored pink fabric to the front piece so there wouldn't be a lot of extra threads inside the pillow cover.  I also made a liner for the top back piece as well.   Here's what the front and 2 back pieces looked like laid out:


I had never done a zipper before, so I was a bit nervous to try it out and even without a zipper foot I was able to put it in following the instructions in the tutorial and just kind of messing around with it.  Here's a picture of me pinning the top and bottom of the back together to the zipper.


And the finished cover!  It turned out about as good as I could have wanted it.


Saturday, May 17, 2014

Week 19: Spring Yard Flowers!!!

I wasn't going to initially include this as a post BUT I did spend an afternoon potting flowers for our front and back porches and Jake spent a day cleaning out the planter and pots full of dead herbs grass from the area where we wanted to plant some veggies.  And I also wanted to show everyone how pretty all the flowers in our yard are!

First Jake and I headed to Home Depot and bought a bunch of flowers for the different areas of our yard (full sun, part sun, shade (front porch)).  Next I gathered all the planters, purchased flowers, and potting soil all in one place to see what I wanted to go with each other.


This doesn't seem like a lot of flowers, but it actually took awhile to clean out the planters that were still occupied with last year's flowers and to get the flowers out of that crappy plastic container they come in without ripping them to shreds!


The good thing about me not posting this post right when I initially planted the flowers is that in the month that they've been blooming everything in our yard has been changing so much and I've been taking pictures along the way.

Here are some pictures of all the potted plants:

Before:

Right away:

1 month later:


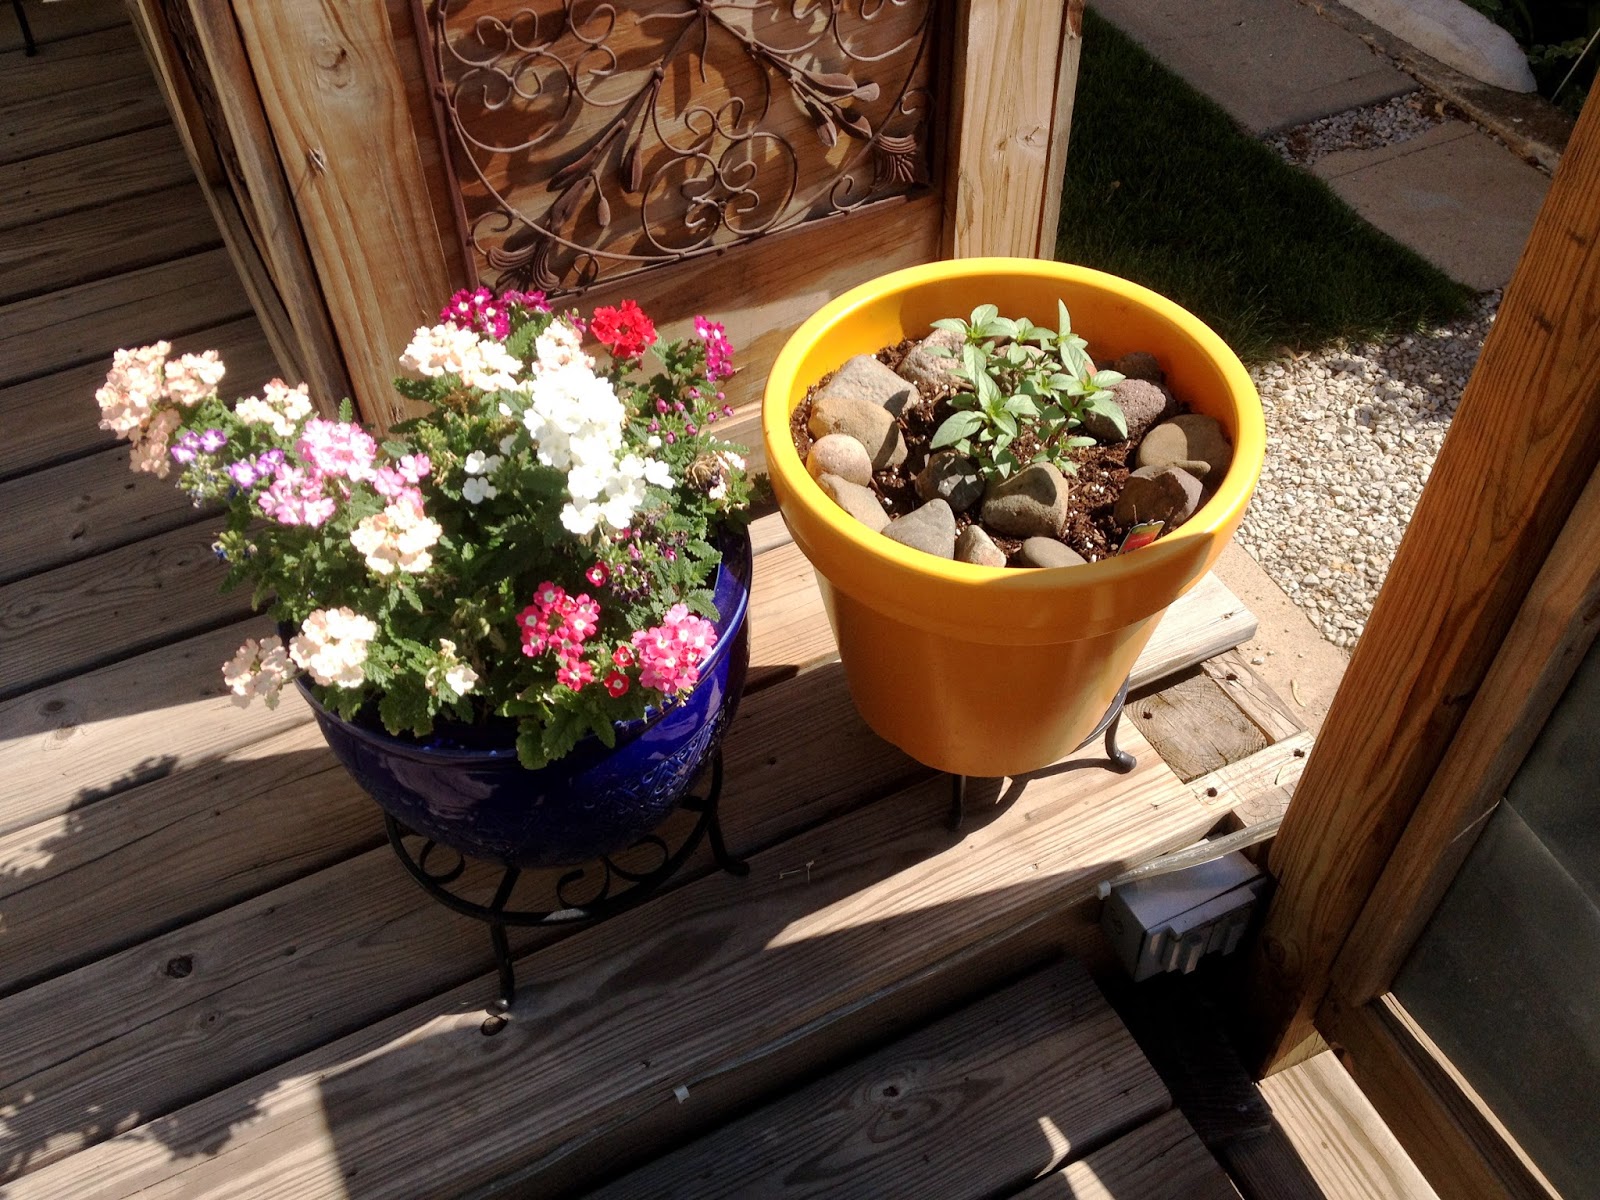
First planted (and before we took out the old herbs in the orange planter):


1 mo. later and with mint in the orange planter:


Right away: 


 One month later:


Here are some other pictures of the beautiful tree in our front yard.  I really loved the few weeks when it flowered so pretty!


And many other flower/plant pictures:


I have to say I am so happy these bushes are all over. We had some in Minneapolis and they are so pretty when bloomed.  I also caught Harley in his usual spot.  You might notice the large hole he's dug for himself next to the fence!  But I can't complain too much since that's the only spot he really digs.  The picture on the right is Harley showing off his favorite pastime....laying out in the sun!


Here is our herb garden.  We planted herbs we like to use a lot when cooking such as cilantro, mint, basil, and parsley.  


And last but not least, our veggie garden where we planted 2 varieties of tomatoes, cucumbers, and red peppers: 


Now let's see if we can manage to keep this stuff alive and not kill all the potted plants, herbs, and vegetables! :) 

I also forgot that I wanted to share some pictures from the beautiful tulip garden at Loose Park near our house.  So many people around our area had tulips this spring and they were really beautiful to look at.


And a pic of Harley and I enjoying his 2nd favorite pastime, going for a walk!