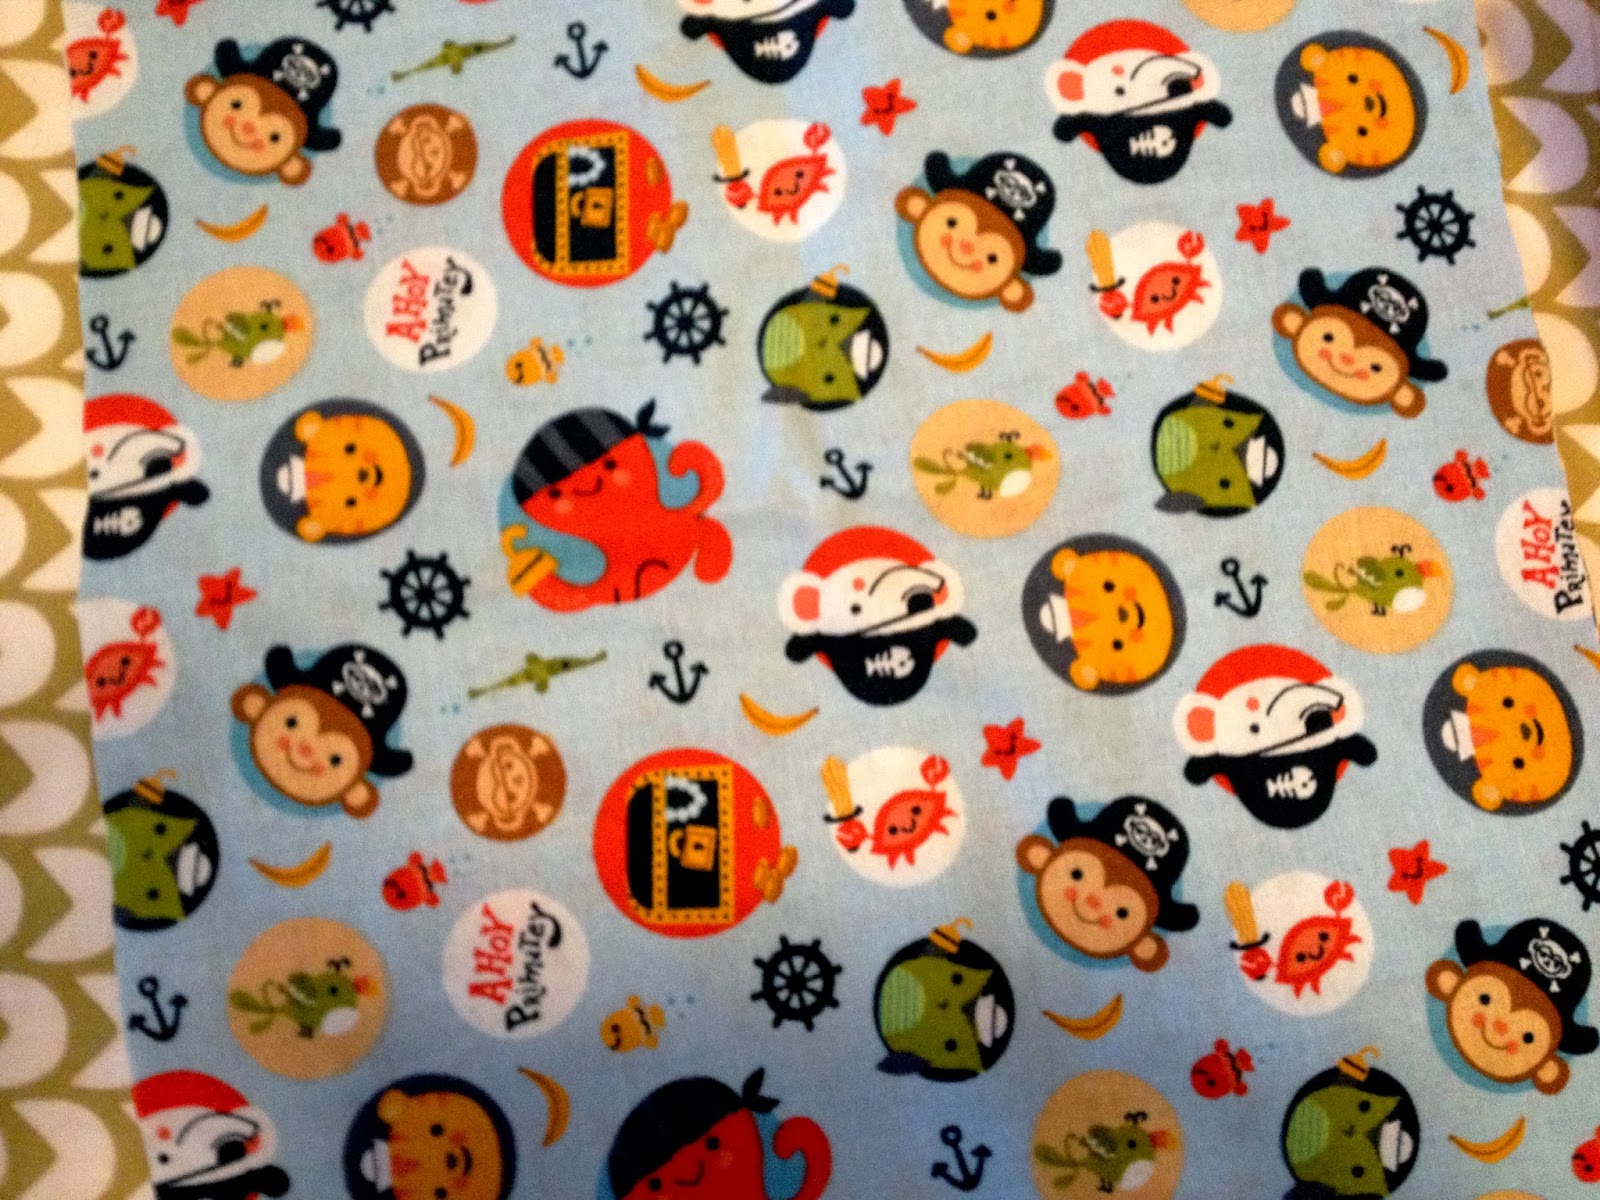
The burp rags are so easy to make and are pretty cheap to do! First I bought a 4 pack of colored diaper cloths from Jo-Anns. They were 40% with a coupon and I also had an additional 20% off so when they are originally $6.99 per package I got them for next to nothing!
I did have some leftover fabric from some baby boy burp cloths I made this fall, but when I was at the fabric store I came across this adorable print of baby animal pirates and the saying "Ahoy Primatey". How clever! :)
I didn't want to make all 4 the same, so I laid out all my leftover fabric against the lighter colored blue diapers to see what would look the best:
I eventually decided on the striped little monster fabric for the additional 2 rags. The best part about that fabric was that is was already cut! So I started by washing and drying the diapers and new fabric. Then I ironed all of them out and measured the length and width of each diaper.
Mine measured about 4 1/2 in by 17 inches, and I added 1/2 inch to each measurement to allow for a hem folded over. After I used my rotary cutter, cutting mat, and large mat ruler to cut the fabric, I folded a 1/4 inch hem around all sides, ironed, and pinned the fabric to the diaper.
Next my mom wanted me to make some pacifier clips for her. When I first went to the fabric store, I found some clips that were like 2 clips for $4. I was randomly in the laundry aisle and found these better clips aka Ironing Board Fasteners that were like 8 for $4, so naturally I got the 8 pack and just cut off the elastic.
I also bought some very thin elastic for the other end that loops through the pacifier. I wasn't sure if I wanted to do both with ribbon or if I wanted to use fabric, so here are my materials laid out:
I decided to use the ribbon and looped it through one end of the fastener.
I could use my hot-glue gun but since I had my machine out and threaded with turquoise thread I sewed the clips. I sewed a straight line along the bottom of the clip, sewed lines down both sides of the ribbon. I cut some elastic and shoved both ends in the open part of the ribbon and sewed that end shut and made an X shape to keep the elastic down.
I made the clips varying sizes since they were the same color, so the new mother could use one clip to clip to the baby or car seat and another clip to clip to the crib or whatever else she wanted that was a little longer.
I am hoping my mom and the baby mama will be happy with rags and clips!
Rachel


No comments:
Post a Comment